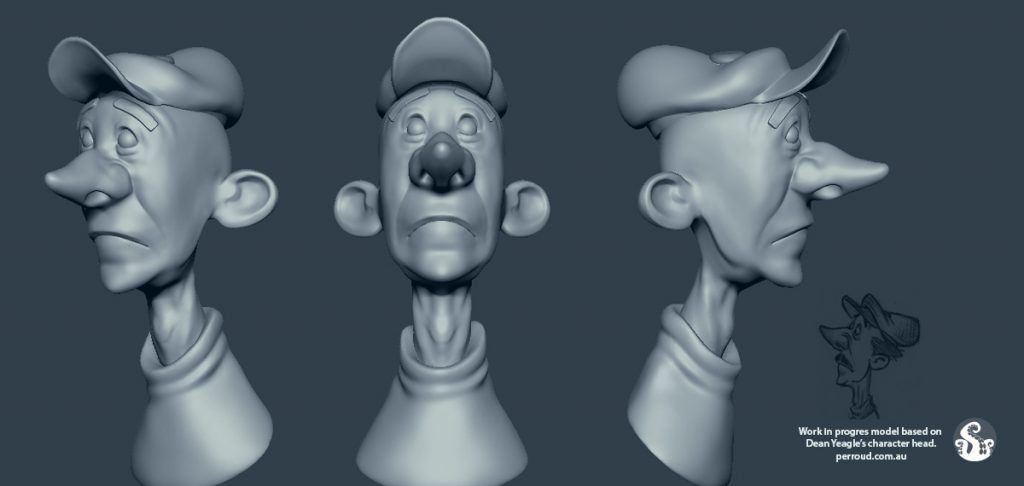
This is the end result of a 3D character I did based on a speed sculpting tutorial from Shane Olson and a sketch made by Dean Yeagle. It’s also my debut in working with Dynamesh geometry, a pretty amazing tool. I’ve worked on many 3D character before but nothing like this one, with the speed and flexibility it offers. Below, a work in progress.
If you don’t know what Dynamesh is, in short, it’s a technology that allows you to re-design the geometry on a 3D model, on the fly, re-mesh it, as if you’re working with real clay – although you could also say it feels a bit like magic. It’s been years, I’ve been hearing how great it is and now I finally got to have a taste of its power. So good.

More info for those who work with or are studying ZBrush
I’ve been working on this cartoon character for weeks, not because it’s super difficult or anything – but because I couldn’t figure out why PolyPaint wasn’t working. If you search the internet, most posts discussing this issue will tell you it’s because the layer is on record mode. But I haven’t had setup any layer, let alone activated record mode, so no clear answer to me. Long story short, the problem was that, for whatever reason, my brush was using the secondary colour, which as white.
Turns out, white colour won’t show at all, no matter which shader you’re using, so it seems to act more like an eraser rather than white ink. Ok, you’re probably thinking “rookie mistake”, but… ok yes, I see now that was rookie. However, on my defence I will say, that’s not intuitive. I did post the issue on both PluralSight, where I got the tutorial from, and also Facebook and GooglePlus. I got one good answer from the tutorial owner, which didn’t solve the problem, and not one answer with a plausible solution from the social media.
So there it is, if you were stuck with PolyPaint like I was, try checking your secondary colour. Or try painting with OPTION key pressed. Hope it helps someone else too.
